Hardware Setup
Five steps from box to working capture.
1. Unbox and inspect
You should have:
- The Pengo unit (titanium-grey aluminium brick, pengo wordmark on top, single blue LED on the front)
- The included USB-A to USB-A cable (do not substitute)
- The user manual / warranty card
If anything is missing, contact the seller (e.g. B&H at 1-800-482-8205).
2. Connect HDMI source → grabber
Using any HDMI cable (the source side, not the one in the box):
- Plug one end into the HDMI OUT (or "HDMI", "Monitor Out") of your source device — a game console, a camera, a PC, etc.
- Plug the other end into the grabber's HDMI INPUT (centre port).
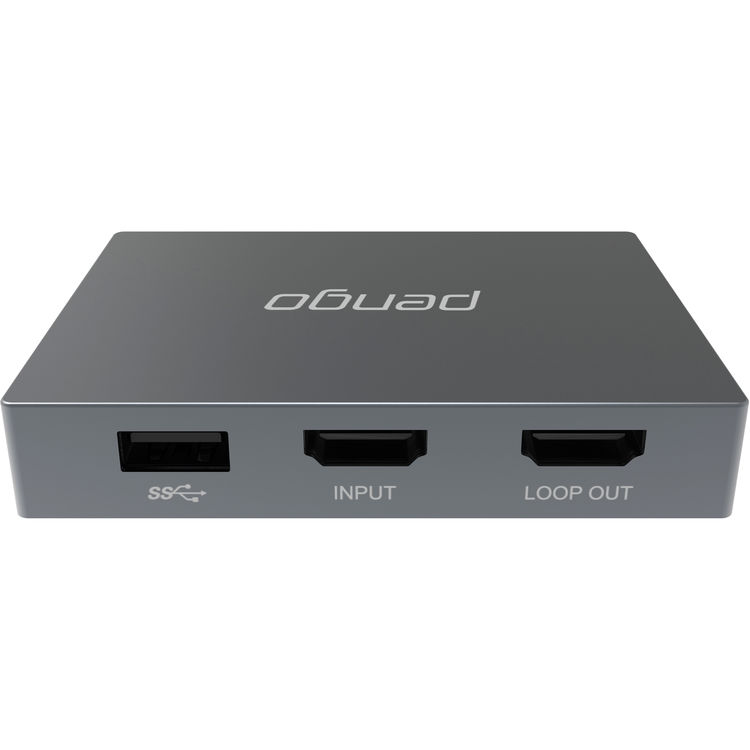
3. (Optional) Connect local 4K display
The grabber's HDMI LOOP OUT is a zero-latency bit-perfect passthrough at the source's native resolution. Use any HDMI cable to connect this to:
- A 4K TV or monitor, if you want to watch the source at full quality while simultaneously capturing to your PC
- or nothing — leaving the loop-out empty is fine; it doesn't need a sink to operate
This is the killer feature for game capture: the player sees their game in 4K60 on a big TV while the streamer records at 1080p60.
4. Connect the included USB cable to your computer
- USB-A end → grabber's USB 3.0 port
- USB-A end → your computer's USB 3.0 port (blue insert, or labelled
SSor with the trident SuperSpeed icon)
No hubs, no substitute cables
Per Pengo directly (B&H Q&A, 2021-11-03): "You must use the USB cable included in the package. It is a proprietary unique cable. Any adapters/converter should be plugged in between the computer and the included cable. No HUBS!! — it will affect the bandwidth and power provided to the Pengo."
A short USB-A→USB-C adapter at the computer end (e.g. Apple USB-C Digital AV Multiport, Anker USB-C-to-USB-A, CalDigit TB3 dock) is fine and is widely reported as working.
5. (Optional) Connect headphones and microphone
- 3.5 mm headphone jack → your headphones or powered speakers (mirrors the audio from the active stream, 48 kHz / 16-bit)
- 3.5 mm microphone jack → a mono mic (this is mic-level, not line-level — if you have a mixer or audio interface output, you'll need a pad/attenuator first; see Troubleshooting →)
The mic input is summed into the USB audio stream and the HDMI loop output.
6. Power on
The grabber is bus-powered; there is no power button. Plugging in the USB cable turns it on — the front blue LED will illuminate.
If the LED doesn't come on:
- Check the USB cable is fully seated on both ends
- Try a different USB 3.0 port on the host
- Verify the cable is the original, not a third-party substitute
What happens next
The grabber should now show up to your OS as a webcam + microphone. Pick your platform: